Intro: The 350Z and G35 6MT both come with nice short-throw shifters from the factory, right? No ones really ‘complains’ about the throw on them, or the feel. Nissan did a great job! So why, oh why, would we want to go and muck it all up? Because we’re gear heads damn it! We can’t leave anything well enough alone! Got to make it bigger, better, faster, lighter, stronger, etc…what the hell is wrong with us?!?! Who knows, but I bet we’d all modify a Mclaren F1 if given the chance and funding. So, like many others, I decided I wanted to shorten the shift in my 350Z because, well… I wanted to. Thusly, without further diatribe:
- One important note: Please read the instructions that were included with your shifter before beginning the install, twice. I seriously recommend this.
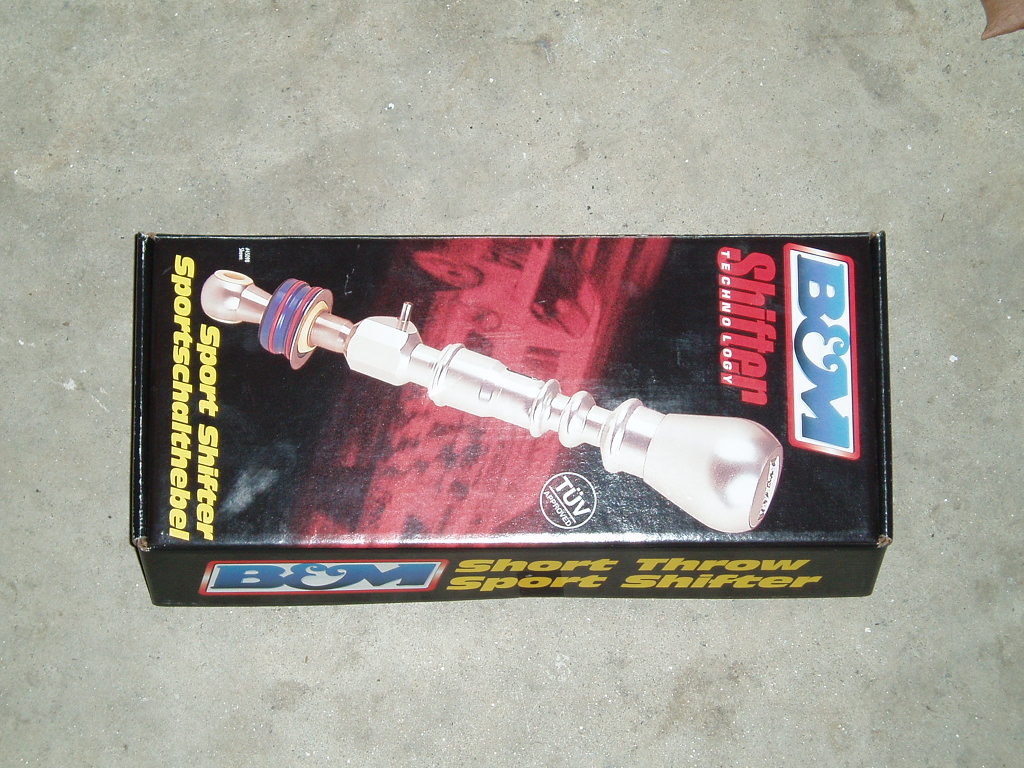
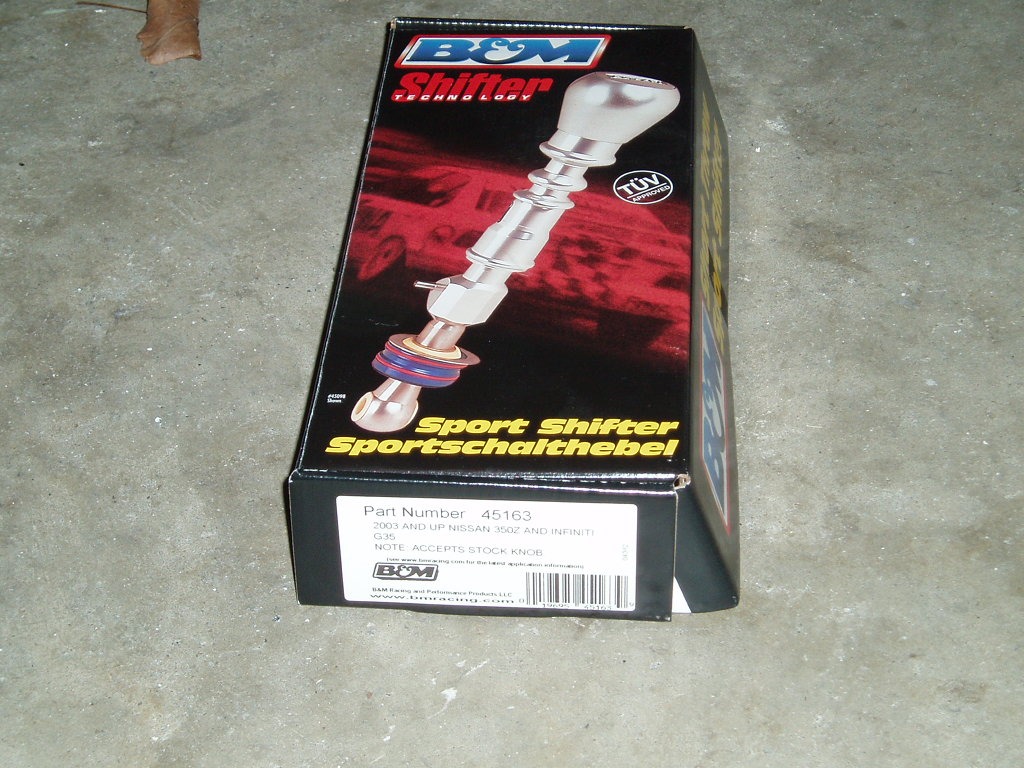
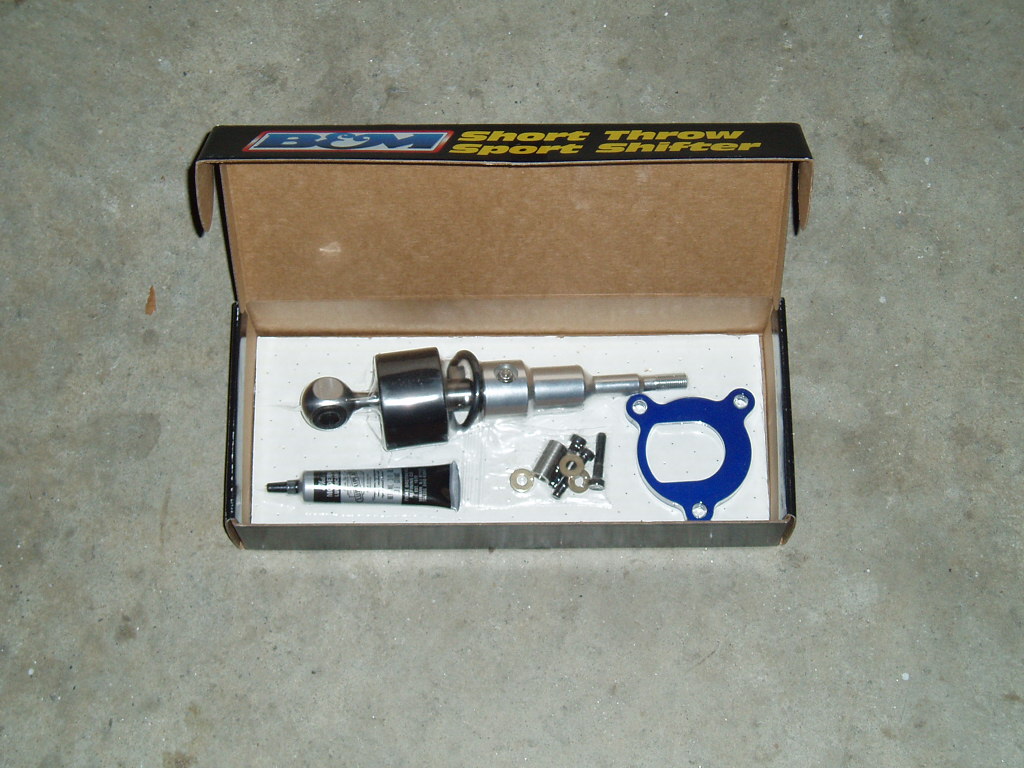
Step one: Buy the shifter (obviously!), and then size it up. The box looks like this:


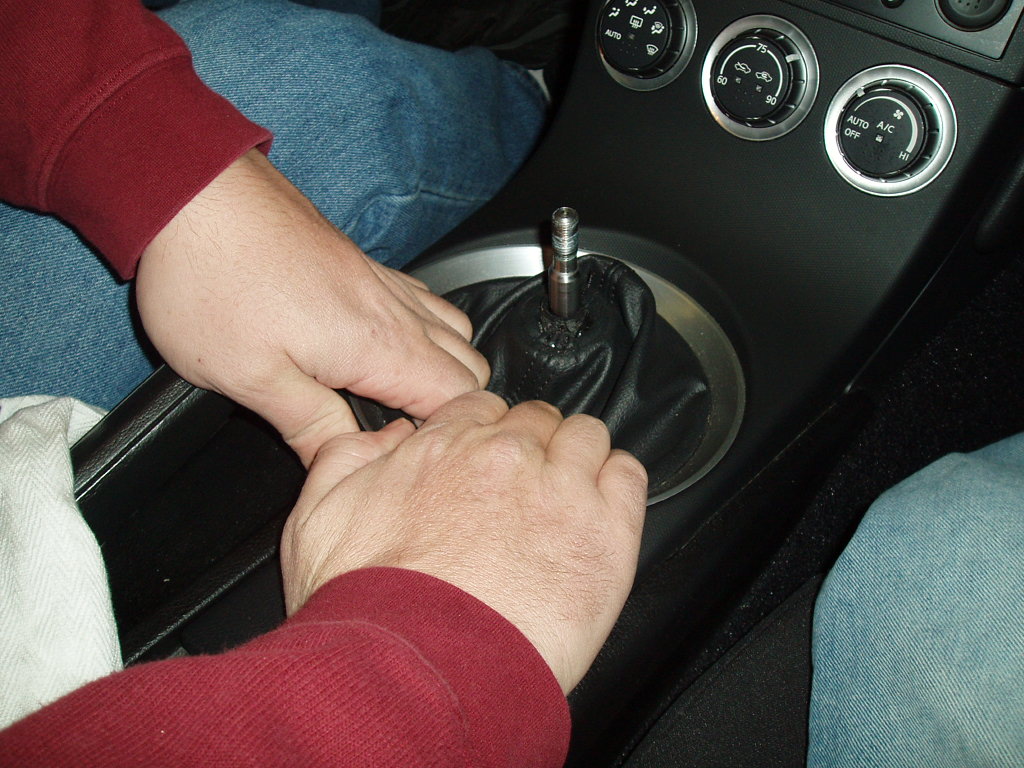
Step two: Removal of stock shift knob
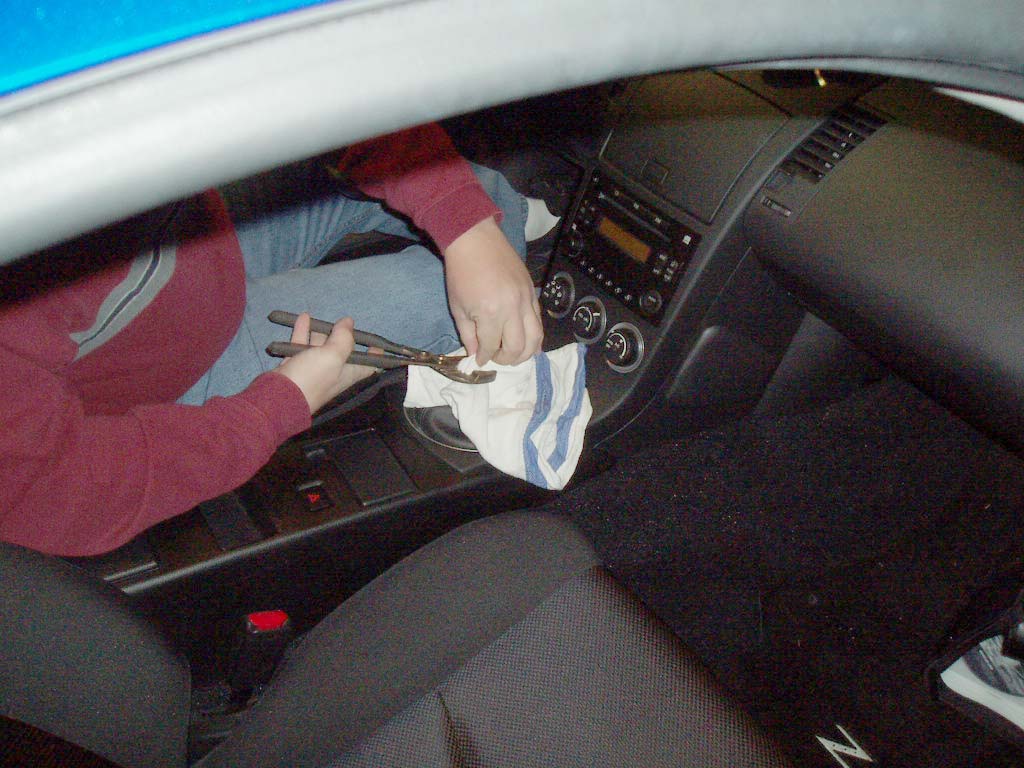
Look at your stock shifter. It comes off by unscrewing it (rotate it counter-clockwise)…good luck doing this by hand. After much deliberation and grunting we decided to take the installation instructions advice and get a rag and some channel locks to take that thing off. (Someone in Japan has strong hands to get that knob on there!). I seriously suggest double wrapping the rag, and having a second pair of hands (THANKS CHADD!) to help with keeping the rag tout around the shift knob while you reposition the channel locks during this process.


Step Three: Dismantling the interior
Ok, with the knob off, reach under the shift boot and pull back and upward to disengage the pins holding the interior panel/ console on. It should pop right out, without much fuss at all.

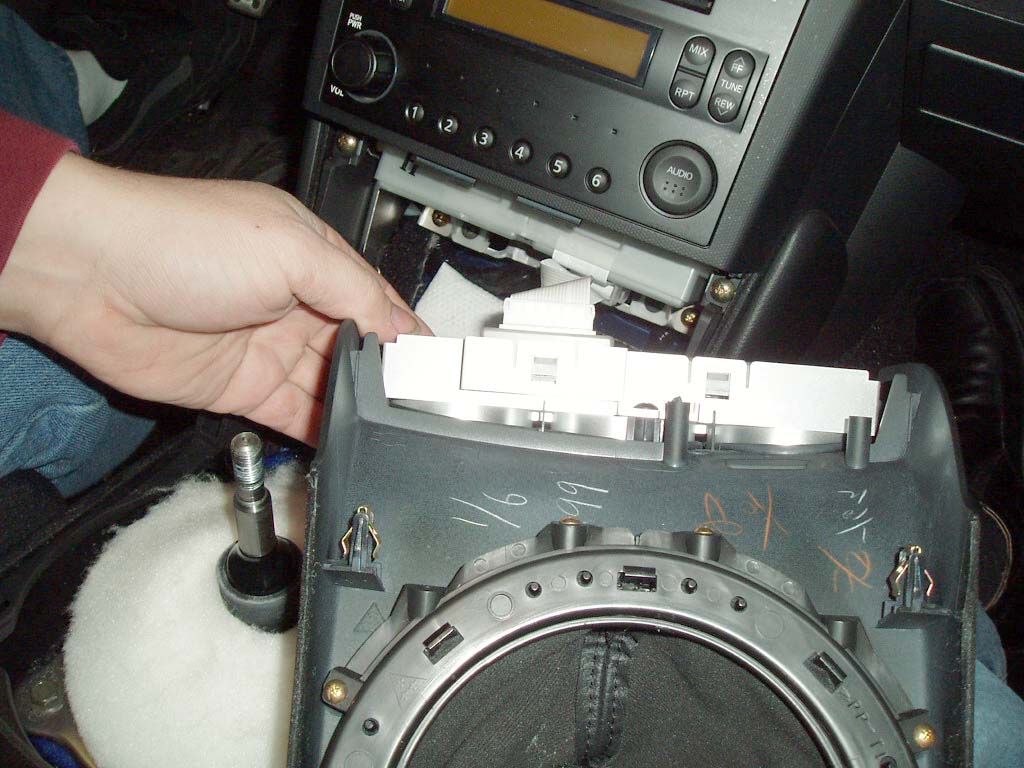
Step Three pt 2: Remove the clip/wiring harness going to the A/C controls
A small screwdriver is nice to have to push the retaining clip back so it pops out. DO NOT FORCE I! Also, of particular note, this is a ribbon cable. Anyone who knows computers knows that you must not pull on these, or they break easily. Be careful.

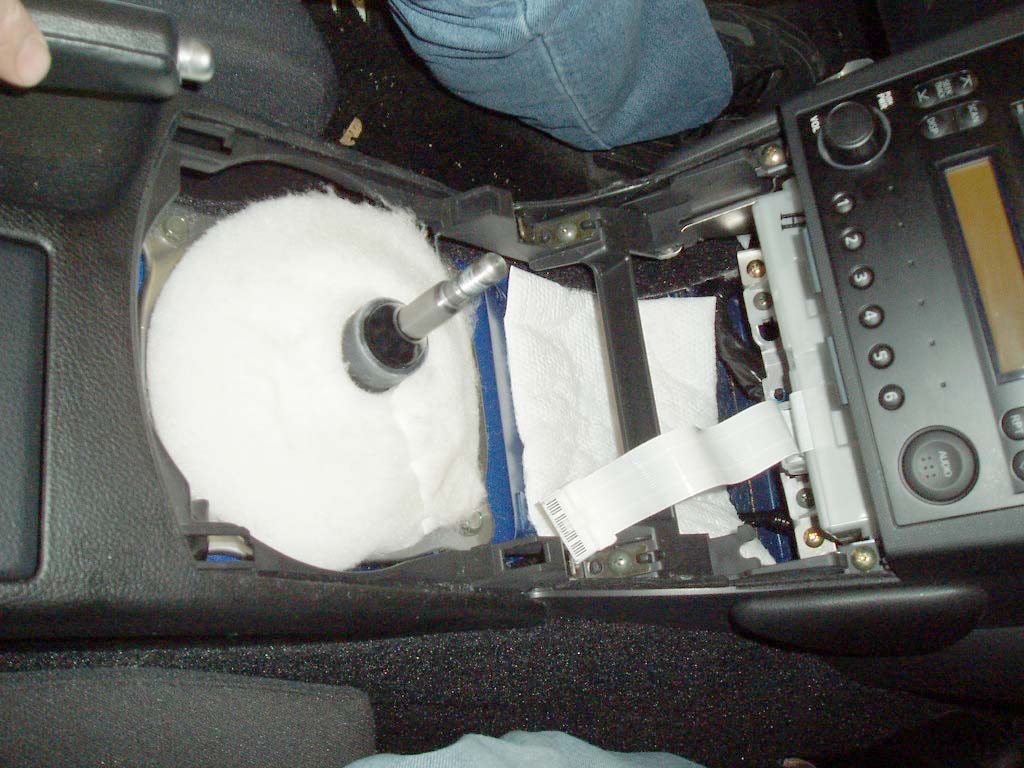
Step Four: Removing shifter coverings
OK, so you got the panel off and you see a fuzzy foam thing. That comes right off. See below:

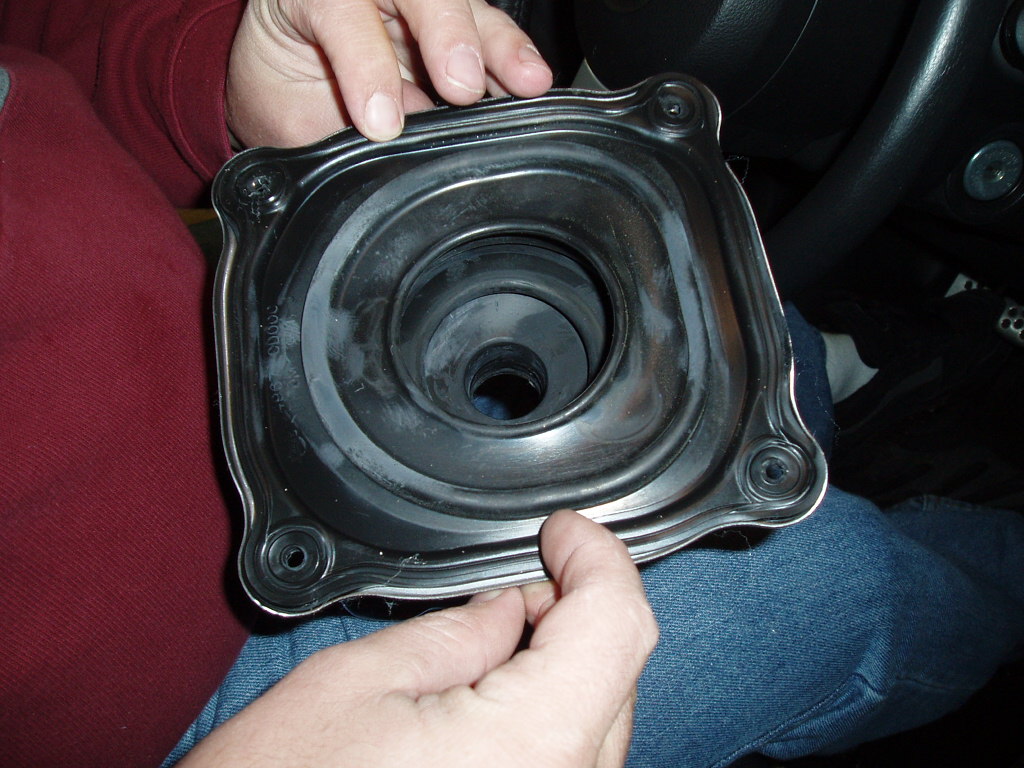
Once removed you’ll see the stock secondary shift boot and retaining plate:

There are four bolts holding the shift boot onto the transmission tunnel. These are easily removed with a 10mm socket, ratchet and 6” extension.


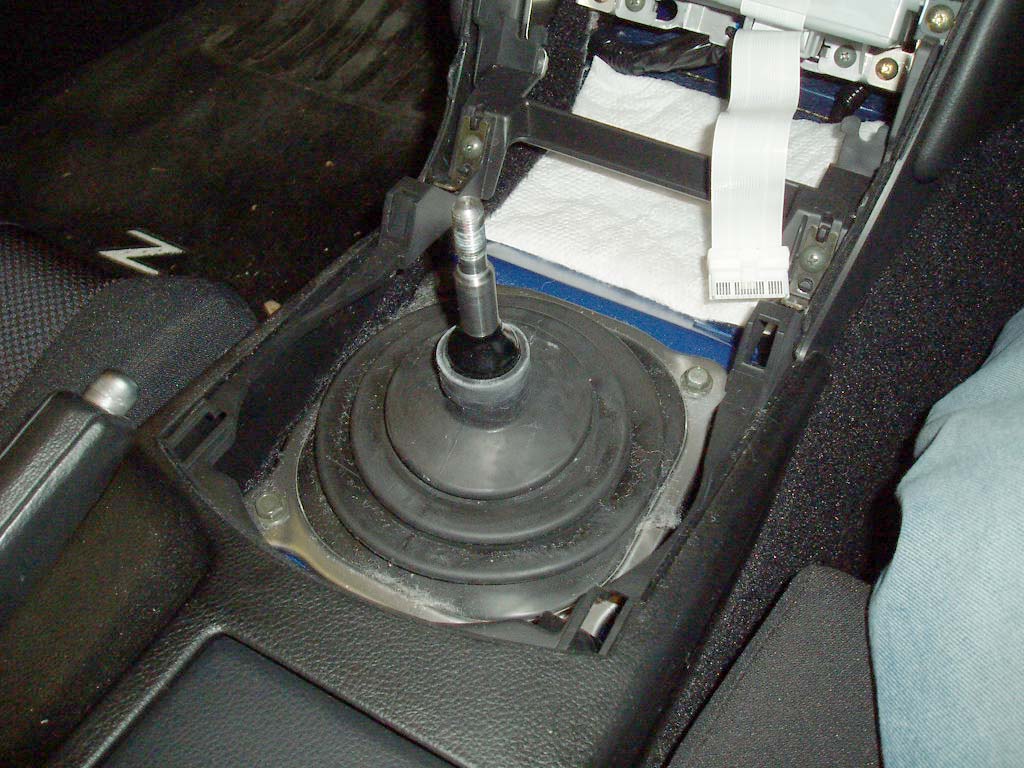
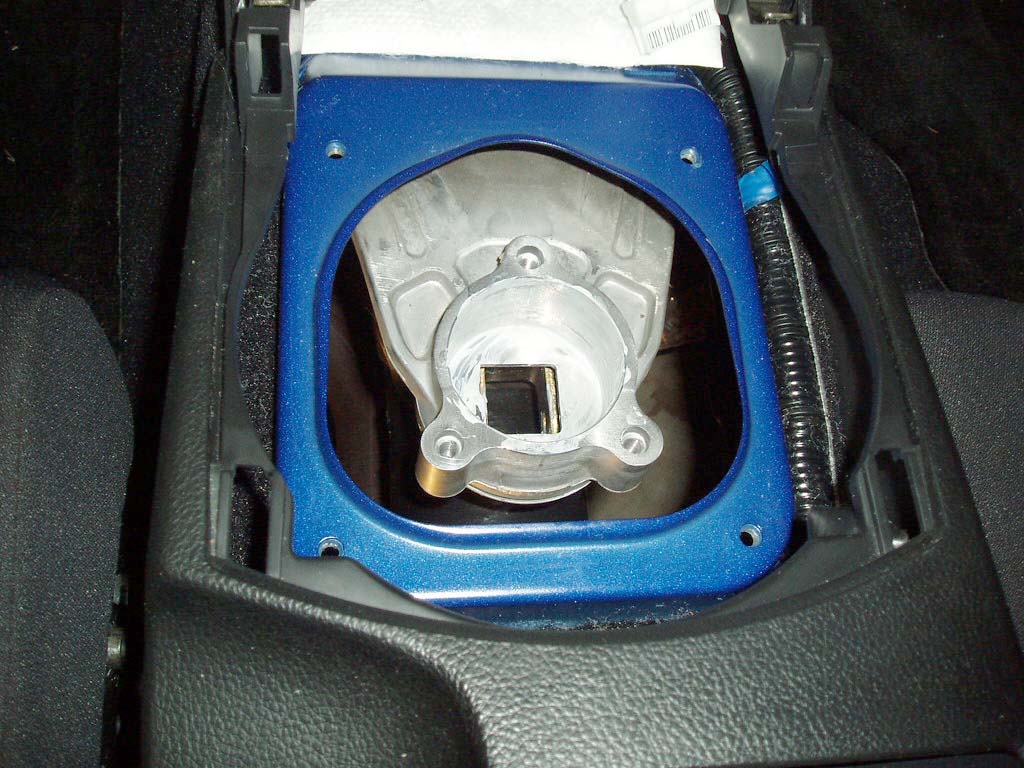
Now, with that removed you should see a second boot covering the shifter assembly. That just pops off. That will reveal the triangular plants holding your shifter in.

Step Five: Removing stock shifter assembly
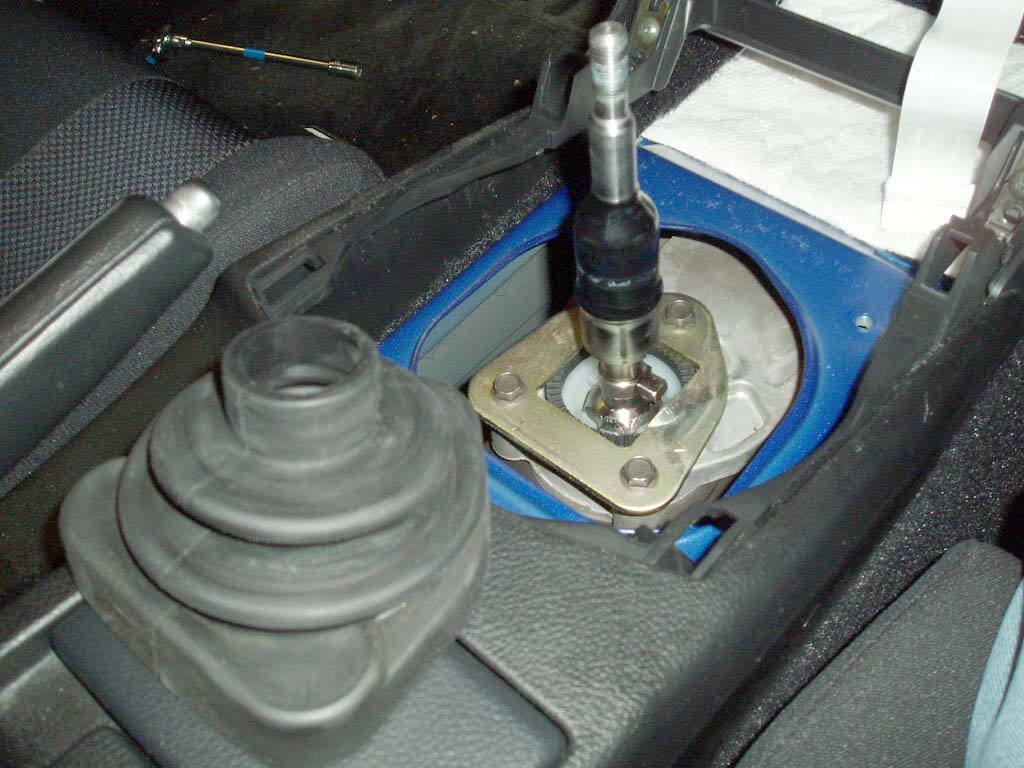
Now you can see the stock retaining plate. Pay particular note to where the reverse lockout in faces! (For those who don’t…it goes toward the passenger side!) The bolts are 10mm. Very simple to remove. Again, ratchet, extension and a 10mm socket, should be easy. Be sure to keep the top shifter plate (triangle thing with 3 bolts in it).

Step Six: Removal of the single 12mm bolt holding the linkage to the shifter
First, Jack up the car (you can do the entire car if you like, but we only needed to lift up the one side to get access to it. First off, the pics didn’t come out for this part (sorry!), but you’ll see another boot covering the linkage, remove that (it slips off). There’s a single 12mm bolt holding the shifter in at this point, you can see it above the composite driveshaft (refer to the install manual for this). A stubby ratchet and 12mm socket are all you need. Once it comes loose, the shifter will pop up about 2” in the air, because of the spring underneath it that you can’t see at this point. Don’t worry, that’s normal. Just get back out from under the car and remove everything (including the spring).
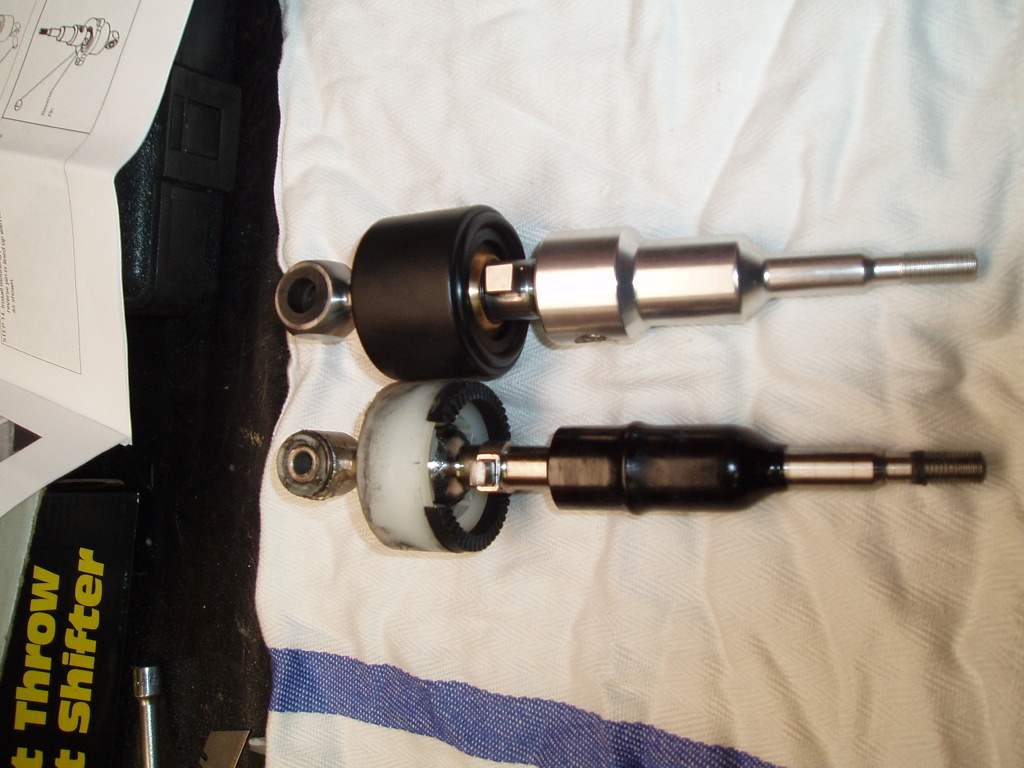
Side by side comparison of the two units:


Step Seven: Notching the shifter housing -
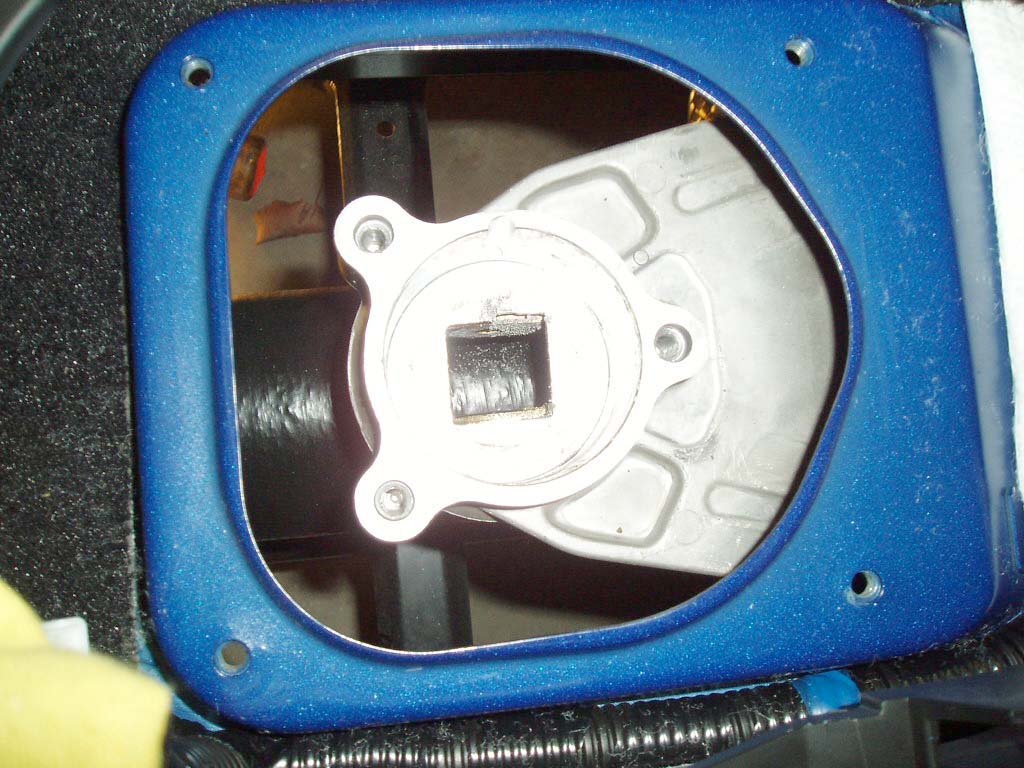
Ok, now look at the shifter casing:

Now, get a nice file. The top left section (in relation to sitting in the drivers seat) needs to get about 1/8” taken off from the middle point upward. See below for the after. According to B&M, this allows for engagement of reverse, probably important to do. Of note, since the shifter is isolated from the transmission, you don’t have to worry about the shavings getting into your transmission and causing issues:

Now, clean all that stuff out as best you can. A rag and some simple green works great. After it’s been cleaned, take the small tube of lube they give you and lube the crud out of the cavity (Whoa! Sounds dirty… but not really) Be sure to lube the inner sections of the shift linkage too!

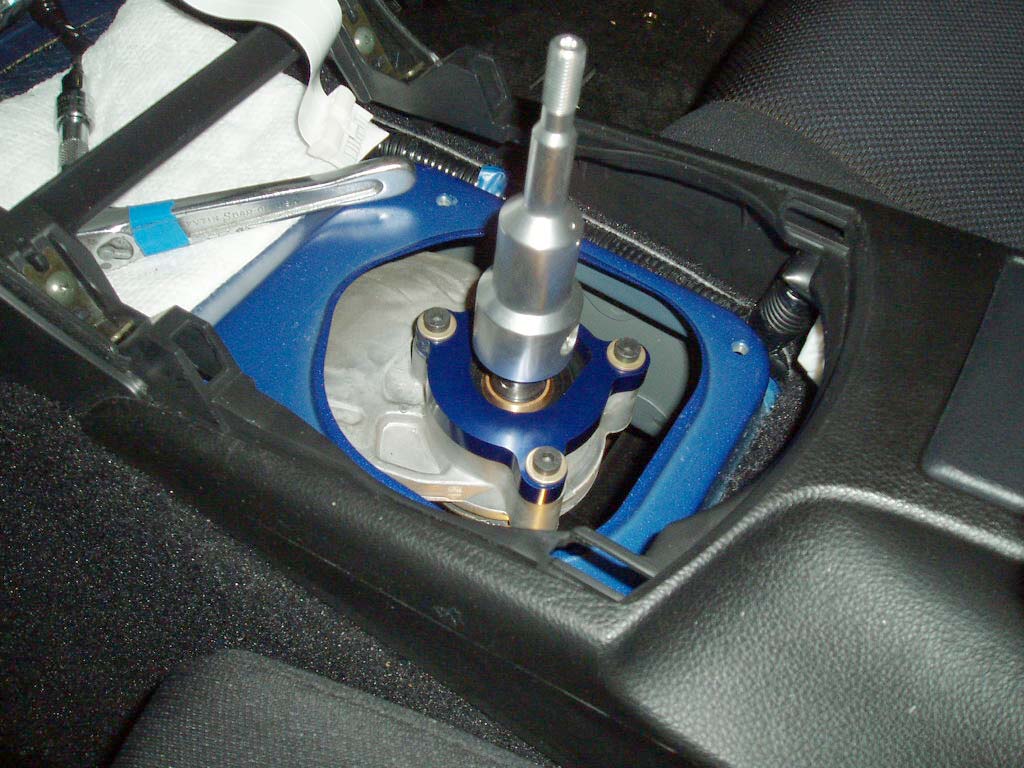
Step Eight: Installing the new B&M unit
Ok, now that everything is lubed all nice; assemble the B&M shifter per the instructions. It’s quite simple. Be sure to press the O-ring into the recess on the shifter. Then drop the shifter in, being sure to put the spring in first! I recommend hand-tightening the Allen-head bolts on to ensure it doesn’t move around.

Step Nine: Attaching the shift linkage
Ok, now slide your butt up under the car again. Reinstall the 12mm bolt that you removed previously in step six. This should be pretty easy. Make sure you torque it down decently. Then pull the shift linkage boot back up over the assembly. There’s a small groove in the base of the shifter casing that it sits on, this can be a pain in the butt. I found it easiest to put the front (in reference to the car) on first, and then use the little “dog ears” on the boot to pull it up over the sides and back.

Step Ten: Getting close to finishing
You can now lower the car back down. OK, the B&M install manual is very vague about this, but you DO have to put the stock triangular plate back onto the unit. SO unscrew the 3 Allen-head bolts you hand threaded previously, and put the old triangular plate back on.


Now, as per the B&M manual, make sure to adjust that top plate so you can get into every gear. As far as positioning it goes, we found it best to stick it into 5th gear, and set the plate touching the reverse lockout pin and tighten it down. This will keep you from overshooting 5th gear (which you can do if you move the plate too far to the passenger side). Once you can confirm you get full engagement, and can’t accidentally engage reverse, tighten all the bolts down nice and tight.
Step Eleven: Reinstallation
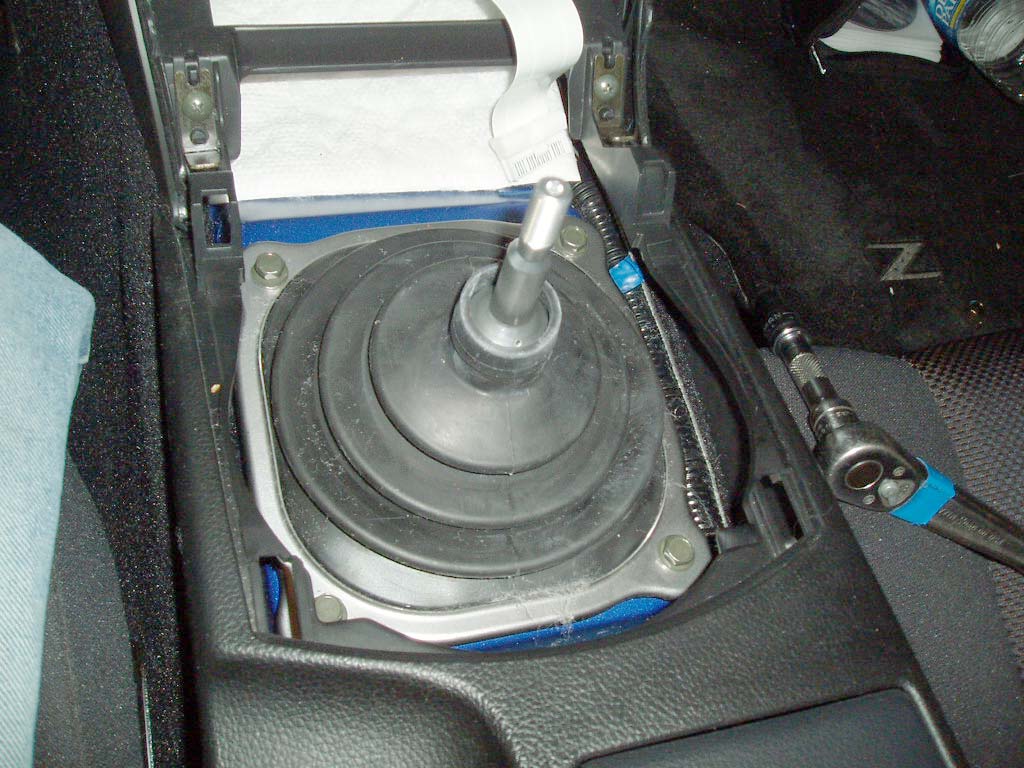
Ok, reinstall the smaller triangle shift boot nice and snug.

Continue by reinstalling the larger shift boot, and tighten down the four 10mm bolts going across from each other to ensure proper torque.

Ok, now put the little fuzzy cover back on!

Finally, plug the harness back into the console piece, and reinstall but sliding the tabs at the front of it underneath the notches in the dash, and press it back into place. Reinstall the stock shift knob (without the little brass-colored collar!), and you’re done! Enjoy your new, even shorter-shifting Z or G35!

- One important note: Please read the instructions that were included with your shifter before beginning the install, twice. I seriously recommend this.
Step one: Buy the shifter (obviously!), and then size it up. The box looks like this:
Step two: Removal of stock shift knob
Look at your stock shifter. It comes off by unscrewing it (rotate it counter-clockwise)…good luck doing this by hand. After much deliberation and grunting we decided to take the installation instructions advice and get a rag and some channel locks to take that thing off. (Someone in Japan has strong hands to get that knob on there!). I seriously suggest double wrapping the rag, and having a second pair of hands (THANKS CHADD!) to help with keeping the rag tout around the shift knob while you reposition the channel locks during this process.

Step Three: Dismantling the interior
Ok, with the knob off, reach under the shift boot and pull back and upward to disengage the pins holding the interior panel/ console on. It should pop right out, without much fuss at all.
Step Three pt 2: Remove the clip/wiring harness going to the A/C controls
A small screwdriver is nice to have to push the retaining clip back so it pops out. DO NOT FORCE I! Also, of particular note, this is a ribbon cable. Anyone who knows computers knows that you must not pull on these, or they break easily. Be careful.
Step Four: Removing shifter coverings
OK, so you got the panel off and you see a fuzzy foam thing. That comes right off. See below:
Once removed you’ll see the stock secondary shift boot and retaining plate:
There are four bolts holding the shift boot onto the transmission tunnel. These are easily removed with a 10mm socket, ratchet and 6” extension.

Now, with that removed you should see a second boot covering the shifter assembly. That just pops off. That will reveal the triangular plants holding your shifter in.

Step Five: Removing stock shifter assembly
Now you can see the stock retaining plate. Pay particular note to where the reverse lockout in faces! (For those who don’t…it goes toward the passenger side!) The bolts are 10mm. Very simple to remove. Again, ratchet, extension and a 10mm socket, should be easy. Be sure to keep the top shifter plate (triangle thing with 3 bolts in it).
Step Six: Removal of the single 12mm bolt holding the linkage to the shifter
First, Jack up the car (you can do the entire car if you like, but we only needed to lift up the one side to get access to it. First off, the pics didn’t come out for this part (sorry!), but you’ll see another boot covering the linkage, remove that (it slips off). There’s a single 12mm bolt holding the shifter in at this point, you can see it above the composite driveshaft (refer to the install manual for this). A stubby ratchet and 12mm socket are all you need. Once it comes loose, the shifter will pop up about 2” in the air, because of the spring underneath it that you can’t see at this point. Don’t worry, that’s normal. Just get back out from under the car and remove everything (including the spring).
Side by side comparison of the two units:

Step Seven: Notching the shifter housing -
Ok, now look at the shifter casing:

Now, get a nice file. The top left section (in relation to sitting in the drivers seat) needs to get about 1/8” taken off from the middle point upward. See below for the after. According to B&M, this allows for engagement of reverse, probably important to do. Of note, since the shifter is isolated from the transmission, you don’t have to worry about the shavings getting into your transmission and causing issues:
Now, clean all that stuff out as best you can. A rag and some simple green works great. After it’s been cleaned, take the small tube of lube they give you and lube the crud out of the cavity (Whoa! Sounds dirty… but not really) Be sure to lube the inner sections of the shift linkage too!
Step Eight: Installing the new B&M unit
Ok, now that everything is lubed all nice; assemble the B&M shifter per the instructions. It’s quite simple. Be sure to press the O-ring into the recess on the shifter. Then drop the shifter in, being sure to put the spring in first! I recommend hand-tightening the Allen-head bolts on to ensure it doesn’t move around.
Step Nine: Attaching the shift linkage
Ok, now slide your butt up under the car again. Reinstall the 12mm bolt that you removed previously in step six. This should be pretty easy. Make sure you torque it down decently. Then pull the shift linkage boot back up over the assembly. There’s a small groove in the base of the shifter casing that it sits on, this can be a pain in the butt. I found it easiest to put the front (in reference to the car) on first, and then use the little “dog ears” on the boot to pull it up over the sides and back.

Step Ten: Getting close to finishing
You can now lower the car back down. OK, the B&M install manual is very vague about this, but you DO have to put the stock triangular plate back onto the unit. SO unscrew the 3 Allen-head bolts you hand threaded previously, and put the old triangular plate back on.


Now, as per the B&M manual, make sure to adjust that top plate so you can get into every gear. As far as positioning it goes, we found it best to stick it into 5th gear, and set the plate touching the reverse lockout pin and tighten it down. This will keep you from overshooting 5th gear (which you can do if you move the plate too far to the passenger side). Once you can confirm you get full engagement, and can’t accidentally engage reverse, tighten all the bolts down nice and tight.
Step Eleven: Reinstallation
Ok, reinstall the smaller triangle shift boot nice and snug.

Continue by reinstalling the larger shift boot, and tighten down the four 10mm bolts going across from each other to ensure proper torque.
Ok, now put the little fuzzy cover back on!

Finally, plug the harness back into the console piece, and reinstall but sliding the tabs at the front of it underneath the notches in the dash, and press it back into place. Reinstall the stock shift knob (without the little brass-colored collar!), and you’re done! Enjoy your new, even shorter-shifting Z or G35!
